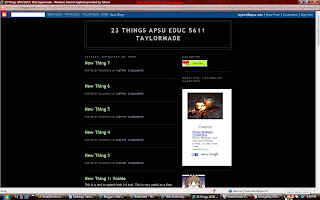
Tuesday, September 29, 2009

New Thing 7: Community Walk

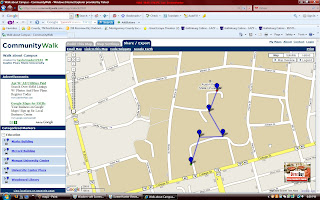
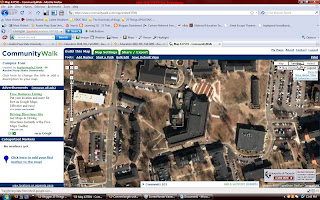
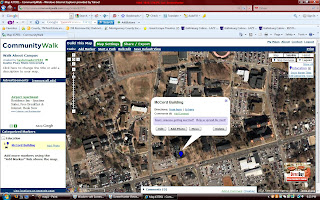
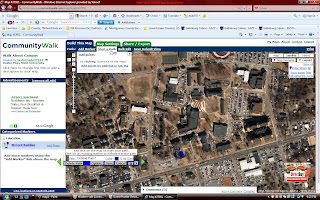
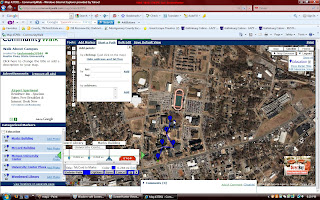
This is an interactive Google Map that allows you to create maps with markers and paths. I created a map of a walk through Austin Peay's Campus. It's very short and could be extended in the future but gives an overall view of how to use this site. The maps can be published to the web and be searchable or there are privacy settings which allow you to limit who may view your map. This site does not provide a tutorial which is one drawback but it is fairly easy to use with few exceptions. Students would enjoy using the satellite views as well as the traditional view. This tool could be used to introduce an area before a trip or as a chronicle of places visited. There are many possibilities for this tool. Using the satellite view helps students visualize the area which may be difficult using the other modes.

Tutorial
1. Follow this link: http://www.communitywalk.com/

2. You must sign up to claim your map.


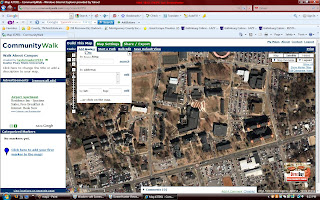
3. Begin by choosing your area.


4. You may name your map.


5. Now you may choose your view.


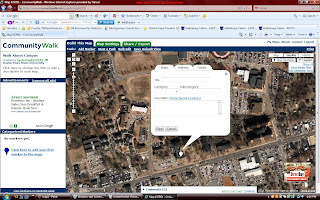
6. Add markers to your map.


7. Now you may add a path to your map by clicking on pathway and then clicking on each marker in the order you want.


8. This is your final map.

New Thing 6: Joggle

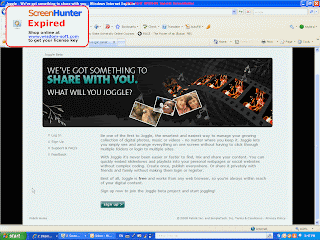
Joggle is a management tool that allows you to keep all of your media including pictures, music, and videos in one place. You only have to select the media and then drag and drop to create cool things like albums and widgets. You may publish your creations on the web for the world to see or limit your visitors to just family and friends. This site interfaces with Picasa and Flikr to manage your media.

Tutorial:
1. Follow this link: http://beta.joggle.com/


2. Click the sign up button and then create your account on the next page. The site will send you an activation link with your username and password.


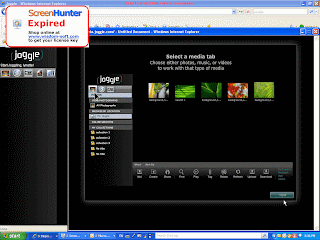
3. Login to Joggle and begin creating by selecting your media.


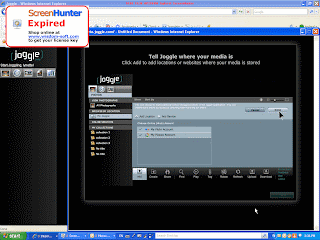
4. Click on the location of your media, I choose Flikr.


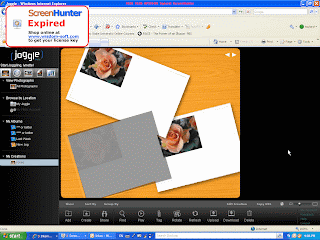
5. Select the format you would like to create for your media. I choose an album.


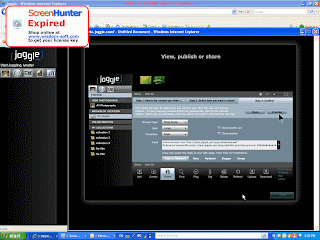
6. Publish your work and allow access of your choosing.

New Thing 5: Mindmeister

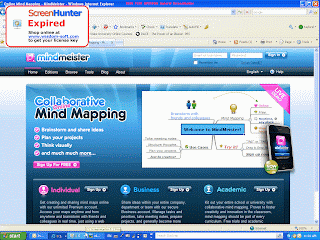
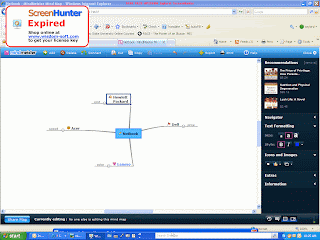
Mindmeister is an interactive mind mapping tool. There are tutorials which aid greatly in learning the navigation of the site. Once I took the introductory tutorial, it was fast and fun. One feature that I found helpful was the tagging and the recommendations the site makes once you make a map. It's a great time saver! If you have Skype, you may interact with other users and develop a mind map simultaneously in an online conference.
Tutorial:
1. Follow this link: http://www.mindmeister.com/


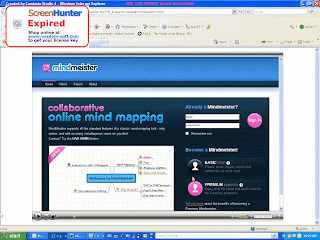
2. Sign Up for a new account.


3. After receiving your activation email, login and begin mapping.


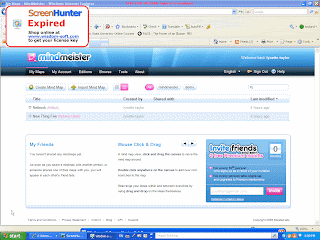
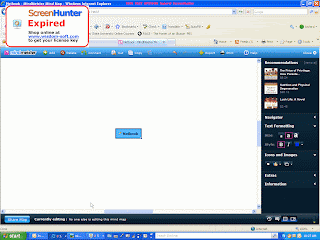
4. Choose "create map".


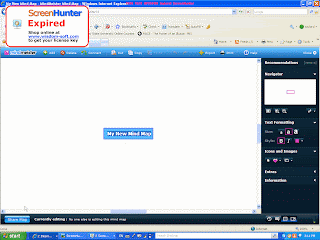
5. Rename new mind map.


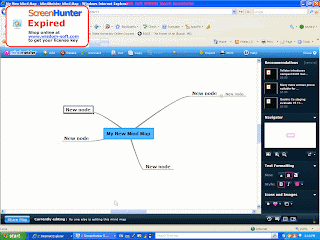
6. Add nodes to root.


7. Rename parent and sibling nodes.


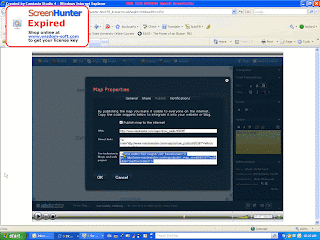
8. In the right hand column you may set the properties and icons to your mind map.


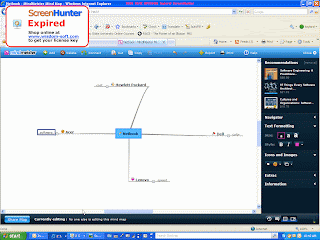
10. Mindmeister adds tags and makes recommendations for you based on the information in your map.


11. Your final map is now ready.

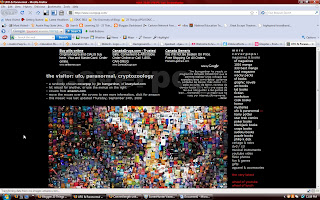
New Thing 4: Coverpop

1. Follow this link:http://www.coverpop.com/


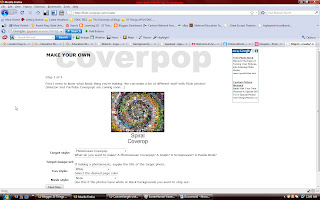
2. Click on create your own and get started.


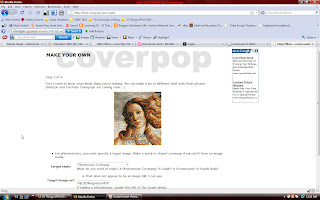
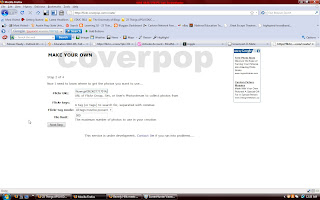
3. Provide a link to the photo or group of photos you would like to use.


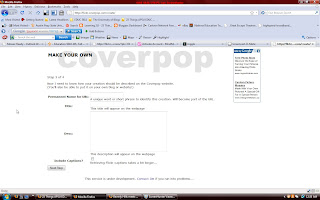
4. Complete the section to link your information to a website or URL.


5. Submit to the site for creating your popcover.


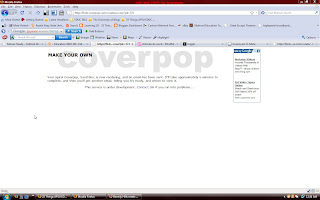
6. After you submit your work, the site will email you that the work is in progress and upon completion you will receive an email indicating where you may view your work. There will also be links for use in editing if needed.


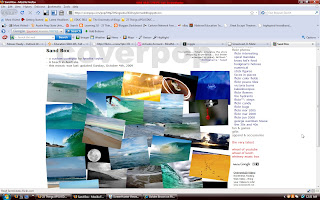
7. View your artwork.

Simply Noise

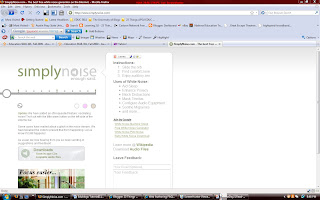
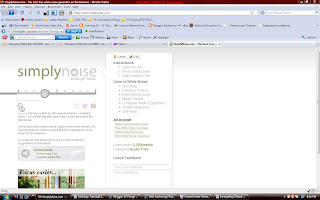
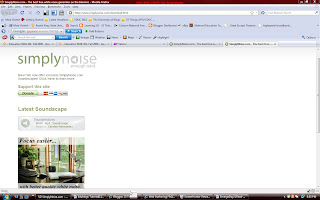
This is a white noise website. I was interested in this because my office uses a white noise system. This site also includes pink and red/brown noise options. Many students may benefit from this site by using the noise systems to not only block extraneous noise but also to allow them to concentrate more easily.
NOTE: This was posted before reading the instructions closely. After reviewing the assignment instructions, I determined this would not fit the assignment, however, I am leaving the post as I find it useful.

Tutorial:
1. Follow this link: http://www.simplynoise.com/


2. Click on the white disc and choose the level of sound you prefer. You may also click on the circles below the scale in order to choose white, pink, or red/brown noise. There is an osciallating option if you prefer fluctuations in the noise level.


3. You may download mp3 versions and choose from different sounds such as rainstorms or nature sounds.


4. You may choose to use the mp3 downloads or use the audio loop directly from your computer.

New Thing 1: Buttonator

This site allows you to make custom buttons and widgets for your website. This is a very cool and useful tool! There are not many directions on the home page so a tutorial is a good idea to get started. The FAQ section is also most helpful.

Tutorial:
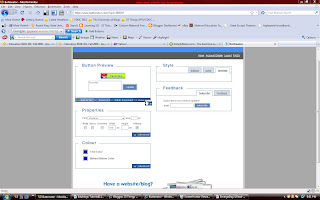
1. Follow this link: http://www.buttonator.com/?uid=36053
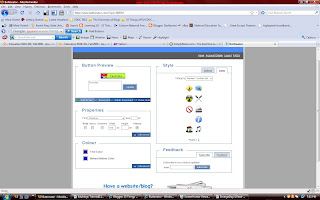
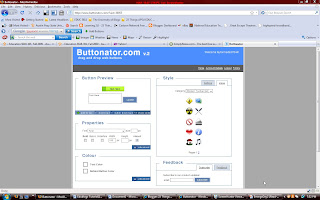
2. This is the home page you will see:


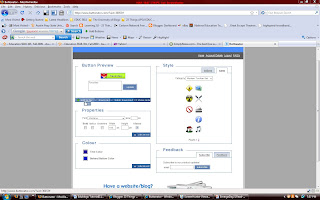
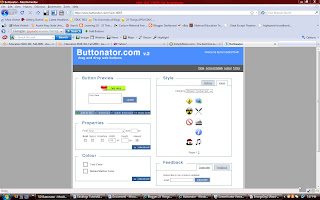
3. Now choose the style you would like for your buttons. I dragged a heart from the styles to the button preview area.


4. Now type in your button title. I have choosen "favorites" for mine.


5. Now choose your properties and colors.


6.Click on "add to favorites".


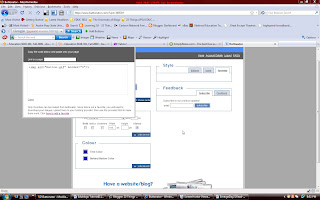
7. Click on "copy code". Then copy and paste the code into your page.
NOTE: Buttonator requires a membership if you want to copy and paste the HTML code. If you do not wish to pay for a membership. You must download and upload the images. This may be a drawback but you may also see the benefit of paying for the membership.


8. Download the image to your computer desktop and then upload it in your website.

This produce the image of the button but not a working link that the membership will allow.


VozMe

This is a text to speech Web 2.0 tool. This is very useful as a time saving device but also in the classroom it works well for students regardless of the reading level. This site uses synthetic voices to read applications by highlighting each section desired to be read. You may also type directly into the software to create an MP3 and download it to your computer or player. In my job I have used many text to speech readers but this one is very user friendly making it ideal for a novice.
Tutorial:

Part 1
1. Follow this link: http://vozme.com/index.php?lang=en
2. Bookmark the site.
3. Open your application or browser.
4. Highlight the text to be read.
5. Find the bookmark and click. The reader will begin to read the highlighted section. This may take a minute when reading in a browser so be patient.
6. Listen and enjoy!

Part 2
1. Follow this link: http://vozme.com/index.php?lang=en
2. Type the text you would like in the text box.
3. Click on the "create mp3" button.
4. Click on the "download mp3" button.
5. Save as and name your file to the location on your computer of your choice. I saved mine in a music file for easy access as it is an mp3 file.
6. Find the file and open it to hear it.
7. You may then transfer the file to your mp3 player.

Note: The voices on VozMe are synthetic and at times are not natural. There are other voices available and you will need to search the site and your computer in order to choose the voice of preference.