Tuesday, November 3, 2009
Saturday, October 17, 2009
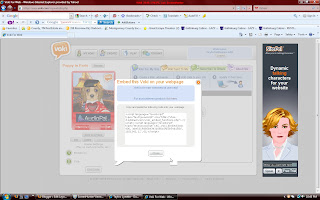
Slideboom Presentation
EDUC5618TaylorModule7
View more presentations or Upload your own.
The second version with narration is more effective due to the details. By providing specific details the audience is able to grasp the main idea more quickly.
Some of the images certainly need no words in order to understand the purpose and meaning.
Students may use Slideboom in the same way that was required for this class. My college freshmen enjoy blogging and being able to embed images and presentations is a skill they will need for the future not only in education, but also in careers.
This activity has shown me that using too many images and too much text is unnecessary. By limiting the amount of information on the slide to the main idea the audience is left wondering about the main point of the presentation and in turn may remain actively engaged as the presenter develops the storyline or plot.
Saturday, October 10, 2009
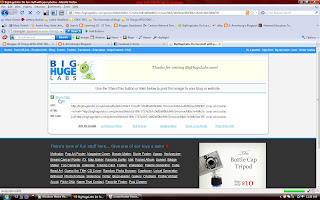
Armstrong's New Thing 3: Big Huge Labs
>
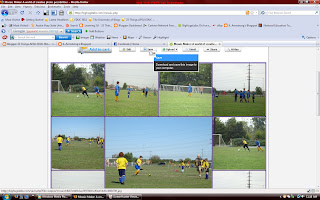
Here's another fun tool! I thought Voki was my favorite but this one ranks right up there! If you have Facebook you can sign in without registering for an account. You may also share your creation with friends on FB which was fun for my family. There are so many photo projects on BHL that I had a hard time choosing one. I'm excited to try the others. I highly recommend this site. As far as visual literacy, this site lends itself perfectly. There are many applications which require you to actively think about which photos you choose requiring some to be based on colors rather than content. I can't wait to do the bead project!
Tutorial
1. Follow this link: http://bighugelabs.com/
2. Register for an account or sign in with your Facebook account.

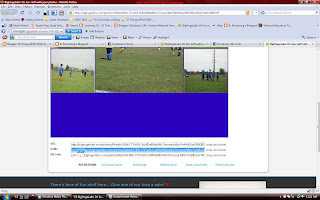
3. Choose the photo mosaic project and set the preferences such as border colors, layout, pixels, and location of the photos to upload.
4. Big Huge Labs will upload the photos and then create the mosaic. You then choose to save it to your computer or copy the HTML code to post on your webpage. You may also share it with Facebook or other sites. I did all three!
Here's another fun tool! I thought Voki was my favorite but this one ranks right up there! If you have Facebook you can sign in without registering for an account. You may also share your creation with friends on FB which was fun for my family. There are so many photo projects on BHL that I had a hard time choosing one. I'm excited to try the others. I highly recommend this site. As far as visual literacy, this site lends itself perfectly. There are many applications which require you to actively think about which photos you choose requiring some to be based on colors rather than content. I can't wait to do the bead project!
Tutorial
1. Follow this link: http://bighugelabs.com/
2. Register for an account or sign in with your Facebook account.

3. Choose the photo mosaic project and set the preferences such as border colors, layout, pixels, and location of the photos to upload.

4. Big Huge Labs will upload the photos and then create the mosaic. You then choose to save it to your computer or copy the HTML code to post on your webpage. You may also share it with Facebook or other sites. I did all three!


Friday, October 9, 2009
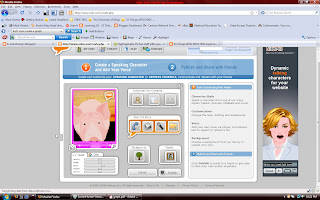
Armstrong's New Thing 1: Voki
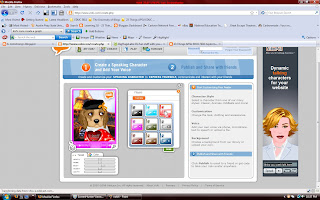
This is an avatar creation site. Wicked cool is the best description for this site! I love animation so this site fits the bill AND there is a voice tool which makes for great fun! I used the text to speech recognition tool and laughed out loud at the voices trying to say "ya'll"! I finally found a passable one from the U.S. but it's not a southern accent. On this site you may choose from a menu and build an avatar or you may customize your own. The site is extremely user friendly and students would have a ball creating an avatar. I have posted my new avatar here and it is too cute! This tool is my favorite of the things so far!
Tutorial
1. Follow this link: http://www.voki.com/

2. Choose your avatar from the menu. I choose the category dogs for mine.
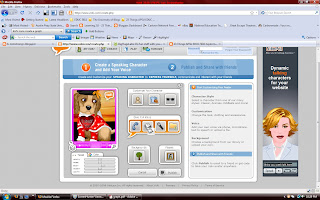
3. Next select your voice tool. I choose the text to speech icon.
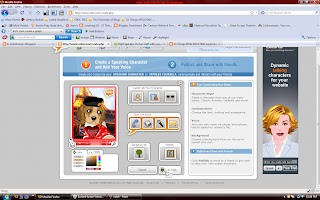
4. Select a background.
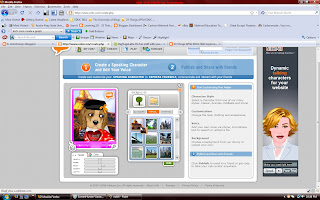
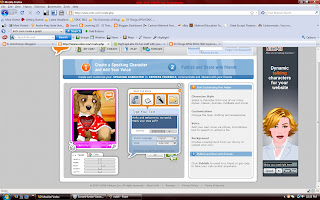
5. Select a player for visitors to play your speech.
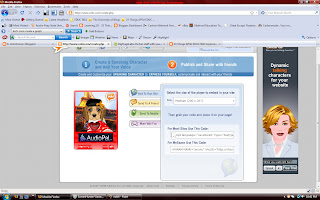
6. Click on the publish button.
7. Now select the size of the player you want to use and copy the code which best fits your website. I also signed up for an account at Voki and my avatar and codes are saved to my profile for use later.
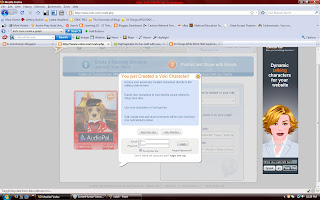
8. Paste the code into the HTML/Javascript editor on your webpage.
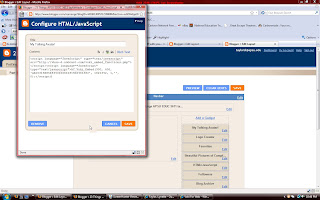
9. View your new avatar on your webpage!
Tutorial
1. Follow this link: http://www.voki.com/

2. Choose your avatar from the menu. I choose the category dogs for mine.


3. Next select your voice tool. I choose the text to speech icon.

4. Select a background.

5. Select a player for visitors to play your speech.

6. Click on the publish button.

7. Now select the size of the player you want to use and copy the code which best fits your website. I also signed up for an account at Voki and my avatar and codes are saved to my profile for use later.


8. Paste the code into the HTML/Javascript editor on your webpage.

9. View your new avatar on your webpage!

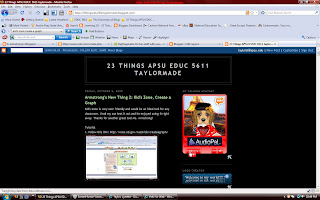
Armstrong's New Thing 2: Kid's Zone, Create a Graph
Kid's Zone is very user friendly and would be an ideal tool for any classroom. I had my son test it out and he enjoyed using it right away. Thanks for another great tool Ms. Armstrong!
Tutorial
1. Follow this link: http://nces.ed.gov/nceskids/createagraph/
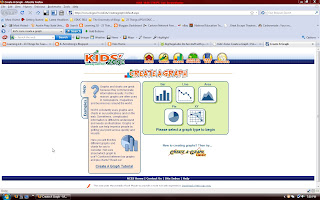
2. Choose the type of graph you would like to create.
3. Input the data.
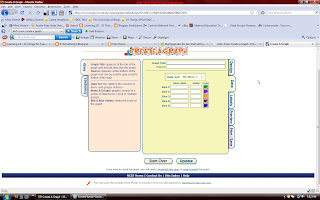
4. Complete the labels information.
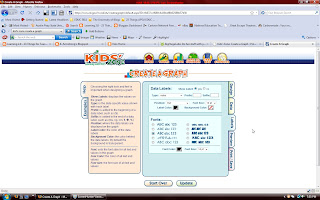
5. Preview your graph.
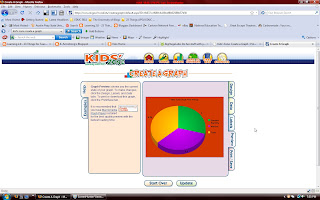
6. Download, email, or print your graph.

7. You may now use your graph in any way you would like!
Cheatham's New Thing 2: KeepVid
This site is a cool way to download videos. It provides two ways to download different formats. You may use the URL downloader or you may download the free flash player video software. This free download allows you to install the Ask & Record toolbar which allows you to download streaming video and files directly from your browser.
Tutorial:
1. Follow this link: http://keepvid.com/
2.Type of copy & paste your URL in the box.
3.Click download and save the video to the extension you choose such as the desktop.

4.You may download and install the FLV player and Ask & Record Toolbar.
5. Now open and watch your videos!
Tutorial:
1. Follow this link: http://keepvid.com/

2.Type of copy & paste your URL in the box.

3.Click download and save the video to the extension you choose such as the desktop.


4.You may download and install the FLV player and Ask & Record Toolbar.

5. Now open and watch your videos!
Armstrong's New Thing 6: PicBite
Ms. Armstrong has found another quick and easy Web 2.0 tool!!!! This one is fun and can be used for a variety of subjects. The captioning tool is fun and could be used in English, language arts, social studies, science, etc. Any picture where you might need a caption of label will work here. There's no account to setup which is even better! Just remember that your work will not be saved when you exit so save it first!
Tutorial:
1. Follow this link: http://picbite.com/
2. Upload a picture.
3. Crop your image and add the captions.

4. Copy your codes for a website of blog so that you may post it to your blog.
Tutorial:
1. Follow this link: http://picbite.com/

2. Upload a picture.

3. Crop your image and add the captions.


4. Copy your codes for a website of blog so that you may post it to your blog.
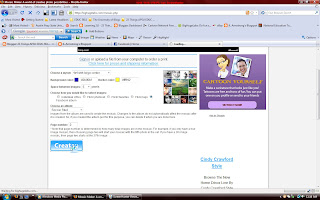
Armstrong's New Thing 5: Logo Creator
I agree with Ms. Armstrong, this tool is extremely easy to use! Thank you! It's also fun. I have added the logo to my blog here.
Tutorial:
1. Follow this link: http://creatr.cc/creatr/
2. Type in your logo title.
3. Set your preferences for the font color, size, and badge.
4.Click on Create Logo.
5. View your logo!
6. Now you may save your picture by right clicking on the logo and "save picture as". Then just paste it where you want it. I put mine on the top of this blog.
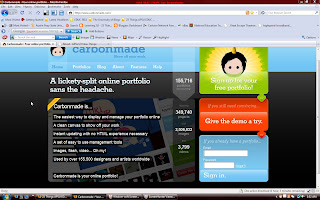
Carbonmade
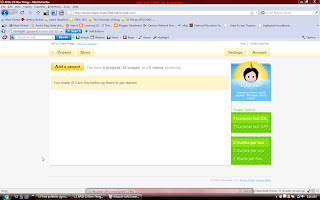
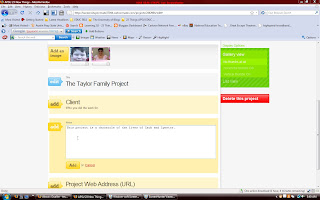
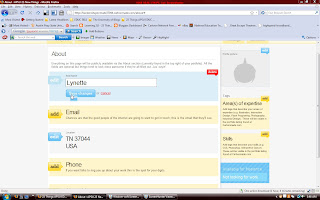
This is an online portfolio creation site. Typically used for graphic artists or designers to showcase their work, it also provides the novice with an opportunity in establishing experience setting up a first portfolio. The user friendly format allows someone with very little knowledge of design to import photos or graphics. All you have to do is click "add" and your portfolio comes alive before your eyes. For visual learners this is a great tool and could be used in a variety of ways in the classroom. Carbonmade could be used as a performance assessment tool, also. The site has a feature that hides your portfolio from the public which makes it secure for students. This tutorial will guide you through the basic portfolio setup but there are more advanced features as your expertise grows.
Tutorial:
1. Follow this link: http://www.carbonmade.com/
2. Setup and activate your free account. You will get five projects free.
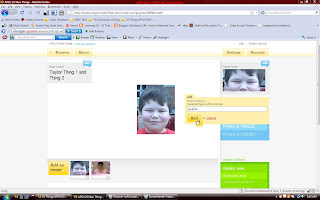
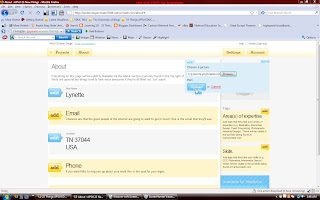
3.Click on "add image" and upload your photos or graphics. They will appear in your portfolio.
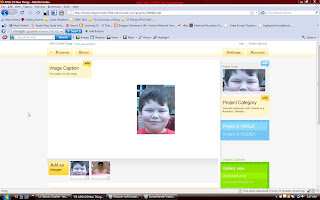
4. Add a caption for your portfolio.
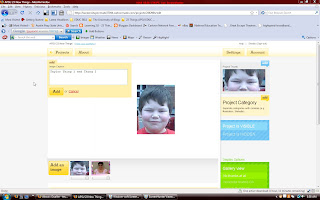
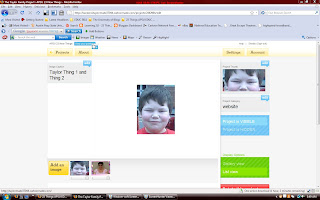
5. Add your project title.
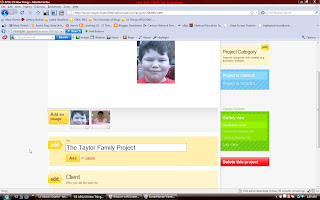
6. Add notes for your project. This will be seen on the portfolio and may also be found in your user profile when someone views it.
7. You may add an external website link.
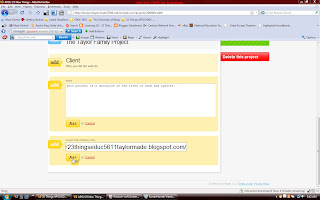
8. If you would like to add tags, type them here.
9. On your user profile you may add as much information as you wish. Here I chose to limit my personal information to state, zip, and country. I also used the APSU zip and not my home zip for added security. This is an option here for artists and designers who want to advertise work so you may want to skip this feature.
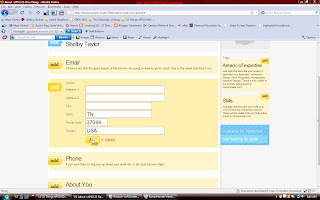
10. You may add a profile picture.
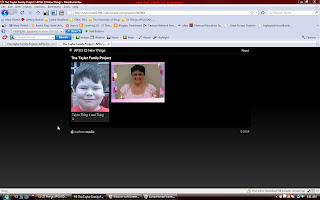
11.Now view your portfolio.
Tutorial:
1. Follow this link: http://www.carbonmade.com/

2. Setup and activate your free account. You will get five projects free.

3.Click on "add image" and upload your photos or graphics. They will appear in your portfolio.

4. Add a caption for your portfolio.

5. Add your project title.

6. Add notes for your project. This will be seen on the portfolio and may also be found in your user profile when someone views it.

7. You may add an external website link.

8. If you would like to add tags, type them here.

9. On your user profile you may add as much information as you wish. Here I chose to limit my personal information to state, zip, and country. I also used the APSU zip and not my home zip for added security. This is an option here for artists and designers who want to advertise work so you may want to skip this feature.


10. You may add a profile picture.

11.Now view your portfolio.


Sunday, October 4, 2009
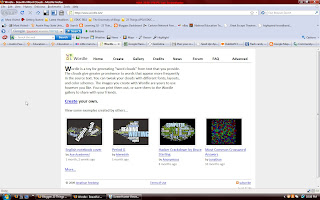
New Thing 3: Wordle
This is a site that uses text to create word art. You may use different types of text to create the art. The site generates the wordle for you and you may change the settings to your creative preferences. This would be an ideal site for writing and language arts. I was first introduced to this site at a conference in Vermont at Landmark College, the premier college for students with learning disabilities.
Tutorial:
1. Follow this link: http://www.wordle.net/
2. Click the create tab.
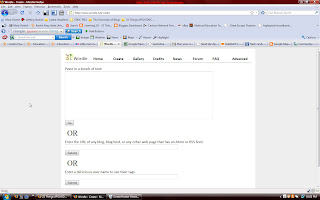
3. Type or paste text into the chosen category. I pasted my blog address.

4. Click submit and the text is generated into a "wordle".
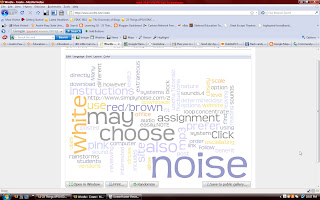
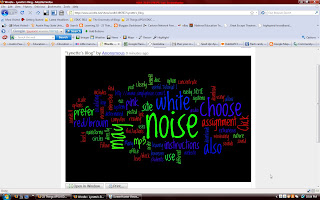
5. Choose the layout, font, color palette, etc. You may also save your art in the public gallery or print a copy.
Tutorial:
1. Follow this link: http://www.wordle.net/

2. Click the create tab.

3. Type or paste text into the chosen category. I pasted my blog address.

4. Click submit and the text is generated into a "wordle".

5. Choose the layout, font, color palette, etc. You may also save your art in the public gallery or print a copy.

Subscribe to:
Posts (Atom)